Technology
Add an Event
Last modified 5/17/2024
You need to have an account before adding an event to the Illinois State University Events Calendar. If you don’t have an account on the Events Calendar, email EventsEditor@IllinoisState.edu.
- Add an Event
To add an event to the Illinois State University Events Calendar:
- Visit Events.IllinoisState.edu
- Select the copyright button at the bottom of the page (Image 1)
- Log in with your ULID and password.
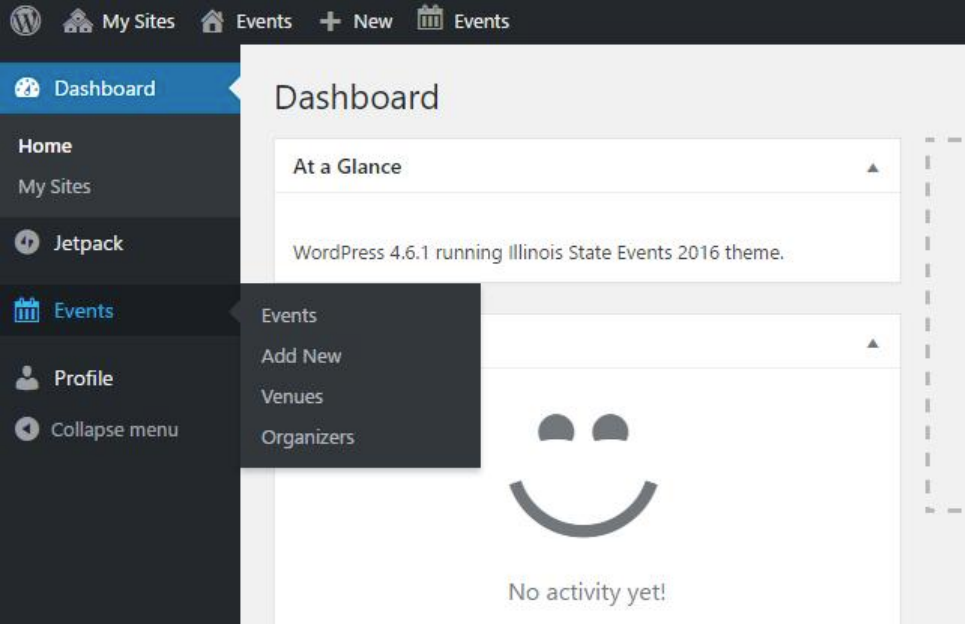
Image 1: - Once the Dashboard loads, hover over Events on the left side
- Select Add New. (Image 2) This will bring you to a blank event page.
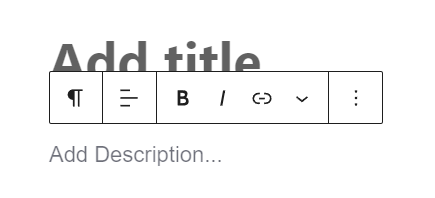
Image 2 - Add the title, date, and description by clicking into each section. An editor toolbar will pop-up when interacting with most sections.
- Date and Time
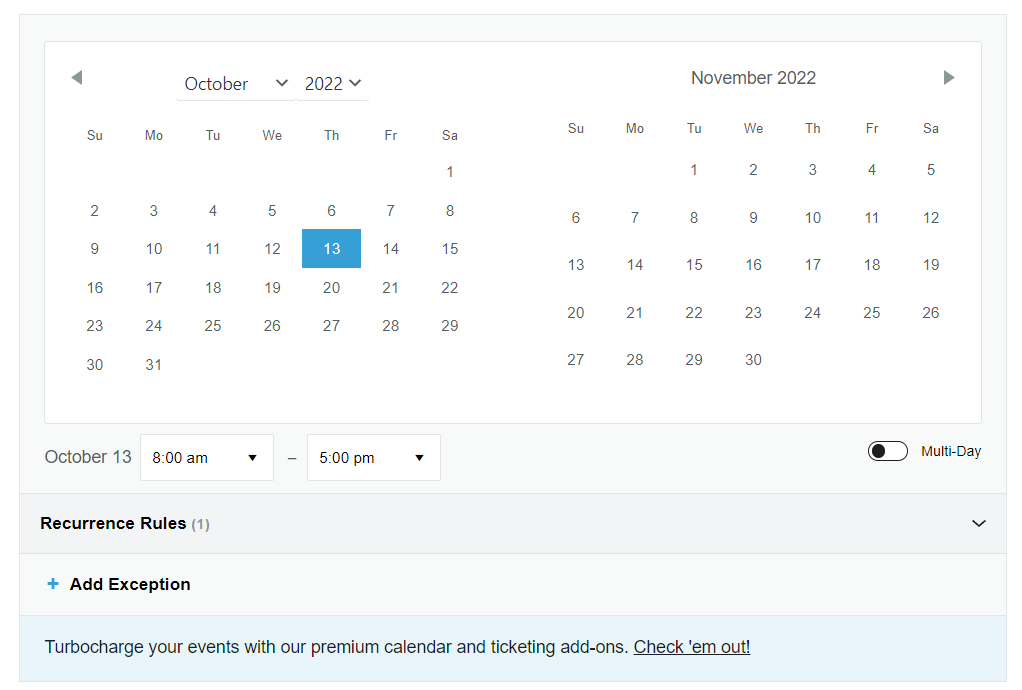
- Select your date and time of an event. (Image 3)
- There is also an option to do multi-day event or recurrence
Image 3
- There is also an option to do multi-day event or recurrence
- Description
Add most of your content in the description section. (Image 4) You should not add the event time, location, or organizer. These will be done in a different section.
If you need to add links, avoid pasting in the URL. You can hyperlink text within the body of the event details. Highlight the text you want to hyperlink then select the “Link” icon, and paste in the link. Try and use action driven text to link and avoid words like “click here.”
Image 4
- Price
The “$ Add Price” field will default to $. For cost, if it is left blank, nothing will show. If your event is free, insert a 0. You can also add multiple prices with ranges and their descriptions.
- Organizers and Venue
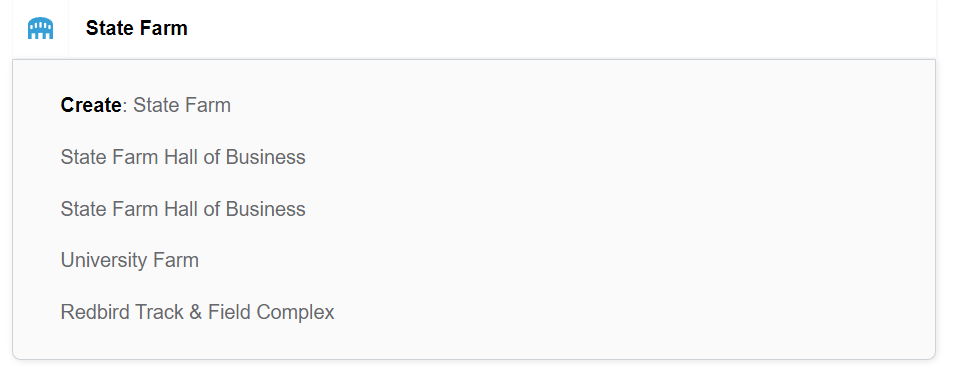
- Search for your organizer and venue by typing a few words that are in the name. For example, State Farm Hall of Business isn’t listed as SFHB. (Image 5)
Image 5 - If you do need to add a new organizer/venue after searching, a pop-up will appear to create a new one.
- Do not add another venue to add a room. The room number is in a different section.
- Add more than one organizer/venue by selecting the section, and clicking the three vertical dots, and selecting 'duplicate'.
- Add the room number below the venue. You just need the number or name itself. For example, do not put “Room 101” in the box. You just need “101” without the quotes.
- Status
Status is important. All events should start with “Confirmed” or “None” as the status. If your event is cancelled, please do not delete the event from the Events Calendar. Change the status to “Cancelled” and update the body text to reflect any update.
- Website
The “Event Website” field is available for a URL to a dedicated site for the event. (Image 6) This might be a main landing page for the event, a news story, or a registration link. It is also suggested these be linked in the body of the text.
Image 6
- Units and Topics
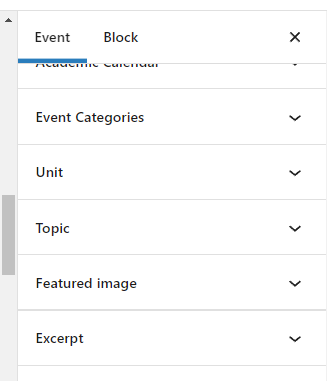
If you do not see the unit and topic dropdowns to the right, make sure the event tab is selected not the block tab (Image 7) at the top and scroll down to the Unit dropdown.
Image 7
Units and topics are the main ways of organizing events. This is also how the University handles the organization of items on News.IllinoisState.edu. We’ve seen great benefits to this breakdown. Each of these boxes are searchable.
- Unit: Virtually the University Org Chart. Once you select your Unit, select the parent Unit above it. If multiple units are involved with an event, they can all be selected. Website Event feeds are typically driven by this option.
- Topic: Select the topics that your event will cover. Multiple selections are possible. Please note, if you don’t have anything to do with the Academic Calendar, please do not select that Topic.
- Featured Image
Images aren’t required for events, but are suggested. The minimum image size is 960 pixels wide by 640 pixels tall. Please do not use images of event flyers or posters. To be sure your event is accessible to all types of users, all of the same information included in these posters should be in the event post itself.
Ideal Photos:
- Photos of people or headshots
- Photos of previous instances of this event
- Photos of the venue
Not-Ideal Photos:
- Photos with text in them
- Logos
- Posters
Select the “Set Featured Image” link, select a photo from the Media Library, or upload a new image. Once you upload a photo, include a Title and Alt Text that describes the image. Once that is set, select the large blue button to set the featured image.
If you need to add other images, in the body of the event details, use the “Add Media” button upload other images.
- Excerpt
If you do not see the excerpt section to the right, make sure the event tab is selected (not the block tab) at the top and scroll down.
On the main view of the events, the description of the event will bring in the body text by default. It strips out any formatting and HTML. There is a character limit to this and it will cut off in the middle of a word if it reaches that limit.
The “Excerpt” field will overwrite that description. It is suggested that you use this field. You do not need to list the date, time, or location of the event, but this can be a brief description of the event. The text in this box will only show on the day view, but not on the event’s individual page. Try and keep this to a “tweet length” of about 140-200 characters if possible.
- What you can ignore
The boxes for Tags, Event Options, Yoast SEO Plugin, or Discussion, you can ignore. If there are questions, contact EventsEditor@IllinoisState.edu.
- Cloning Events
You can clone any event that you have published on the Events Calendar. When you clone an event, it will copy the event and create a new draft. Everything from the initial event will be copied over.
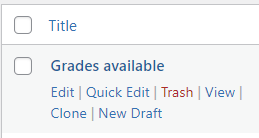
In order to clone an event, once you are logged in and you see the list of events you have created, or ones you have access to, go to the main Events listings. Find the event you are looking to clone, hover over it with your cursor, and select Clone. It will be in line with Edit, Quick Edit, etc…. (Image 8)
Image 8
To find the cloned event, head to your drafts by selecting “Draft” along the row of options above the list of events. You can go into that draft, adjust the date/time and any other details and publish the event.
If you plan on cloning this specific event multiple times, you are able to Clone a draft. We recommend doing this so you don’t have to always search out the event to clone. Once cloned, you’ll see two drafts of that event saved for you. You can publish one while keeping the other draft for later.

